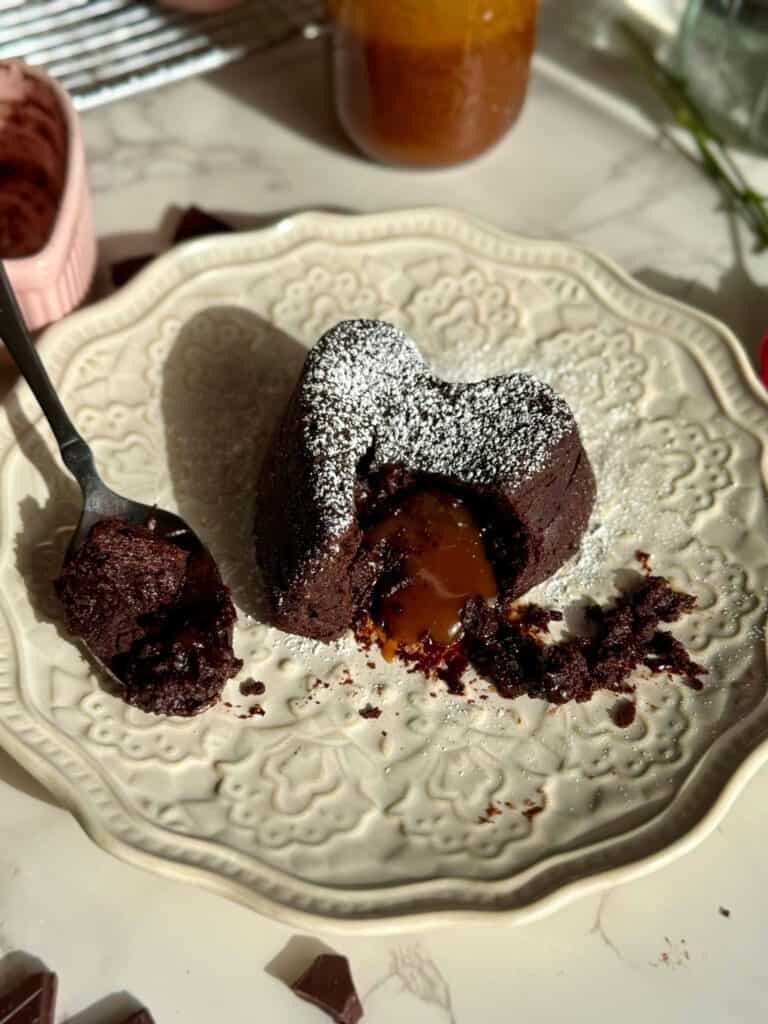
Salted Caramel Molten Lava Cakes
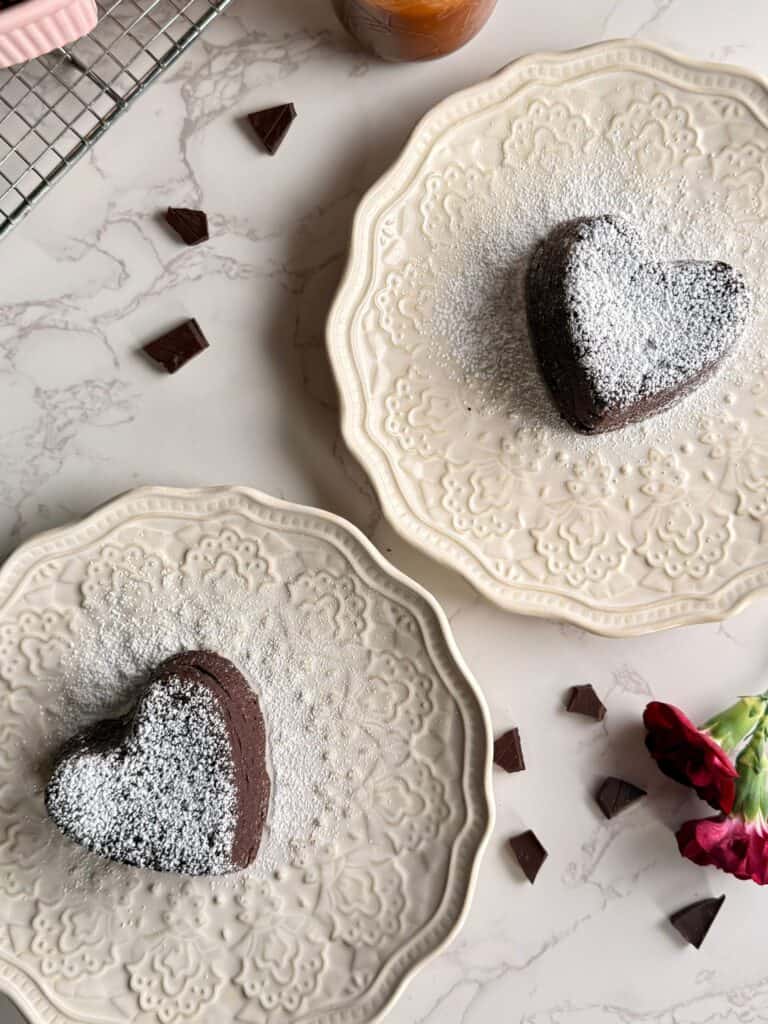
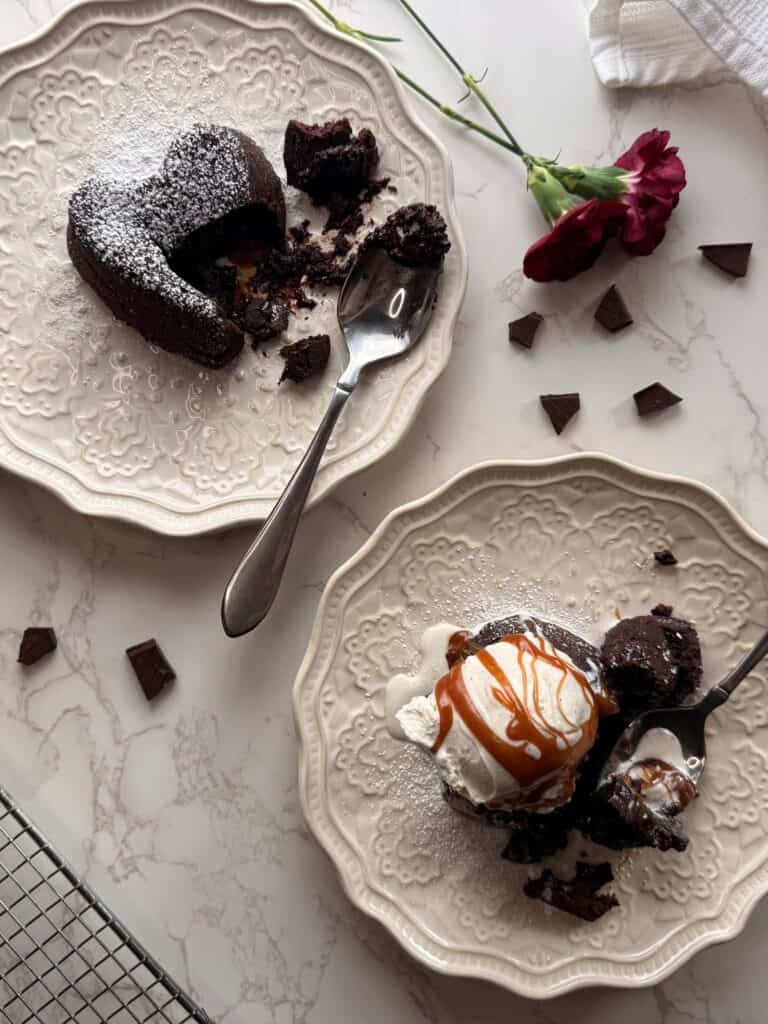
These Salted Caramel Molten Lava Cakes are the perfect small-batch dessert for Valentine’s Day, or anytime you’re craving something rich and chocolatey! The combination of decadent dark chocolate and sweet, buttery salted caramel is indulgent and perfectly balanced with a sprinkle of flaky sea salt. The warm, gooey caramel center, paired with a cold scoop of vanilla ice cream, makes this a restaurant-worthy dessert you can enjoy right at home.
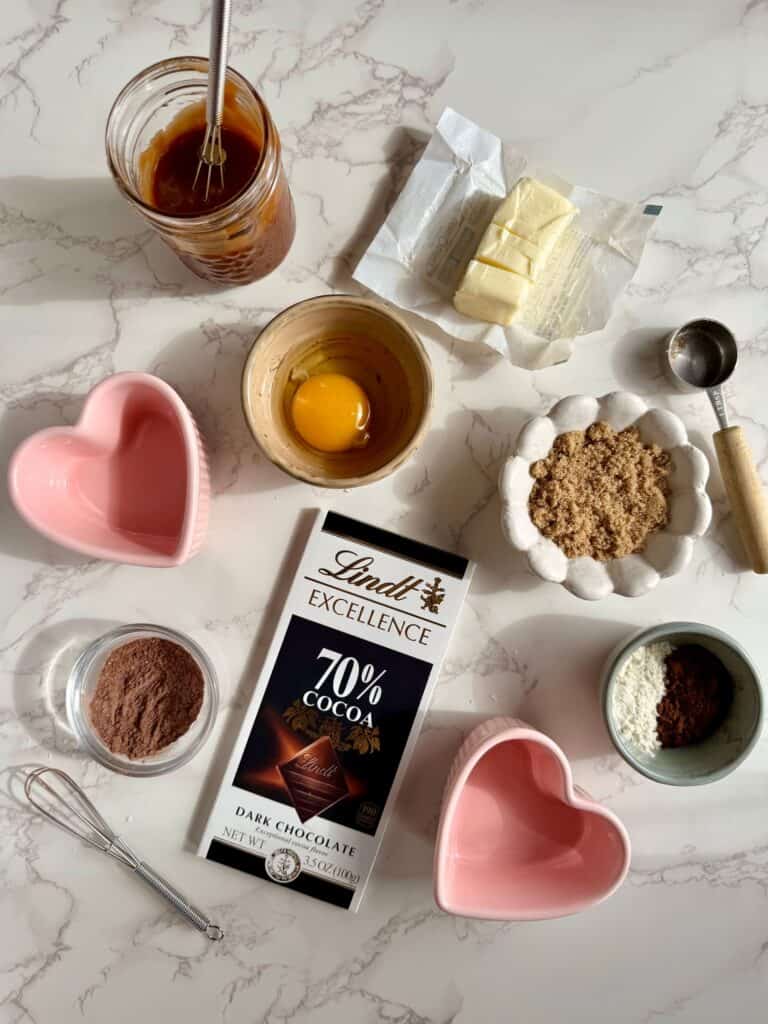
Ingredient Overview
- Butter: Melted with the chocolate for a rich and silky texture. Use unsalted butter since we’ve got the salted caramel going into the cakes.
- Dark Chocolate: Choose a good-quality dark chocolate for the best flavor and texture. I used Lindt 70% dark chocolate, but any high-quality bar will work.
- Egg: Just one egg for this small-batch recipe. Whisked until fluffy, it adds just enough lift since there are no leaveners in this rich cake.
- Brown Sugar: I prefer brown sugar over granulated sugar here. It adds extra flavor and keeps the cake moist and tender.
- All-Purpose Flour: A very small amount gives just enough structure to the cake while still keeping the center gooey and indulgent.
- Cocoa Powder: Dutch-processed cocoa powder adds extra chocolate depth. Combined with a touch of flour, it also helps coat the ramekins so the cakes release easily.
- Salted Caramel: Homemade caramel is the indulgent heart of the cake! Making it is totally worth it, and you’ll have extra to drizzle over the cakes (or just about anything else). You can find a list of the ingredients in the recipe card at the end of the post!
- Flaky Sea Salt: Low-key star of the show here. Added to the caramel and sprinkled on top before serving, it creates that perfect salty-sweet balance in every bite. I love using Maldon sea salt flakes.
Making Caramel That’s Not Intimidating
Caramel can seem like something only professionals make, but it’s actually very doable at home. With a few simple techniques, you’ll be able to make a smooth, silky caramel with confidence.
- Prevent sugar crystallization: Corn syrup helps prevent crystallization (when the sugar seizes and turns the syrup grainy). Mix it with the sugar and just enough water to create a wet, sand-like texture before heating. Heat over medium — this allows the sugar to dissolve before boiling, then turn into a golden caramel without burning.
- Wash down the sides of the pan: Use a damp pastry brush (or clean hands) to wipe away any sugar crystals on the sides of the pot. Stray crystals can cause the whole batch to seize.
- Don’t stir — swirl instead: Once the sugar starts boiling, don’t stir. Gently swirl the pan to help the caramel color evenly, but only once it begins to turn that amber color.
- Use room-temperature butter + warm cream: This helps the caramel stay smooth and reduces seizing and splattering. Just be careful when adding, it will still bubble up quickly!
How to Get the Perfect Molten Lava Center
The magic of molten lava cakes comes down to timing, temperature, and a few simple techniques. Here’s how you’ll get cakes with a warm, gooey center every time.
- Freeze the caramel first: Freezing small rounds of caramel helps them hold their shape in the oven so they melt into the center instead of disappearing into the batter. This is the secret to that gooey caramel core.
- Don’t overfill with caramel: A little goes a long way. About 2 teaspoons per cake is perfect — too much can cause the caramel to leak out and prevent the cakes from setting properly.
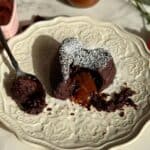
- Bake just until the edges are set: Lava cakes are meant to be slightly underbaked. Not only is the caramel melty in the center, but the cake itself is also underbaked in the middle, which creates that gooey, molten core. The edges should look set and slightly pulled away from the ramekin, while the centers will still look soft.
- Let them rest briefly before unmolding: Let the cakes cool for 3-4 minutes after baking. This helps them release cleanly while keeping the centers molten.
- Serve warm for the best lava effect: These are best enjoyed right away. The molten center is at its peak when the cakes are warm, so plan to serve as soon as they’re unmolded.
Step-by-Step Instructions
Salted Caramel
1. Begin by adding the sugar, corn syrup, and a splash of water to a saucepan. Stir until it resembles wet sand, then use a pastry brush or wet fingers to wipe down the sides of the pan to remove any sugar crystals. Cook over medium heat — do not stir! Leave it undisturbed until it begins to turn a light amber color. You can gently swirl the pot to help the caramel color evenly. Once it reaches a deep golden color, remove it from the heat to stop the cooking.
2. While the sugar is cooking, warm the heavy cream in the microwave in 10-second intervals until just warm. This helps it incorporate into the caramel more easily and prevents seizing.
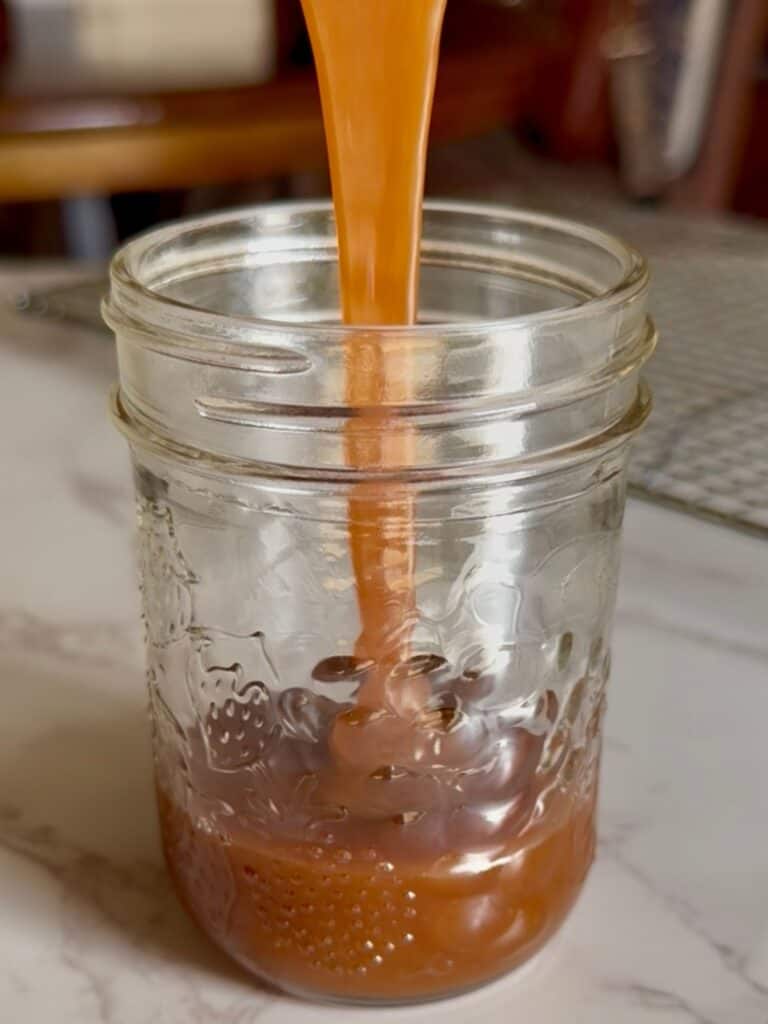
3. When the caramel is cooked and removed from the heat, carefully add the room-temperature butter and whisk until melted. Then slowly stream in the warm heavy cream. The mixture will bubble and steam, so add the cream in small amounts and whisk continuously until smooth. Transfer the caramel to a heat-proof bowl and let it cool completely.
Tip: If the caramel seizes and becomes clumpy, place it over low heat and gently stir until smooth again.
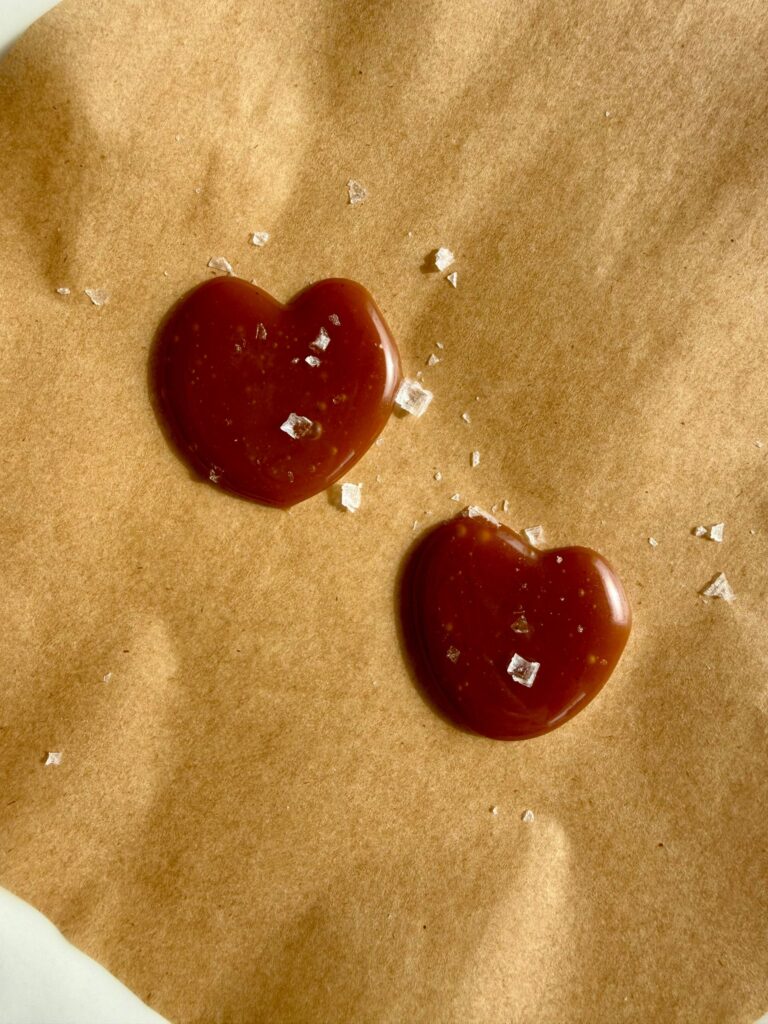
4. Once cooled, stir in the vanilla and flaky sea salt. The caramel should now be thicker and easier to portion. Spoon 2 teaspoons of caramel each into two small rounds on a parchment-lined plate or baking sheet. Freeze for 15–30 minutes while you make the cake batter. These frozen caramel rounds will go in the center of the cakes to create the gooey molten center.
The caramel can also be made up to two days in advance. Store in the fridge once completely cooled.
Chocolate Molten Lava Cakes
1. Start by preheating your oven to 450°F. Grease two 4–6 oz ramekins very well with butter. In a small bowl, combine 1 teaspoon of flour and 1 teaspoon of cocoa powder, then sprinkle it into the ramekins. Tilt and tap the ramekins so the bottoms and sides are fully coated, and shake out any excess. This helps the cakes release easily after baking.
Tip: Be sure that all the nooks and crannies are fully greased and coated in the flour/cocoa mixture to ensure the cakes don’t stick and unmold cleanly!
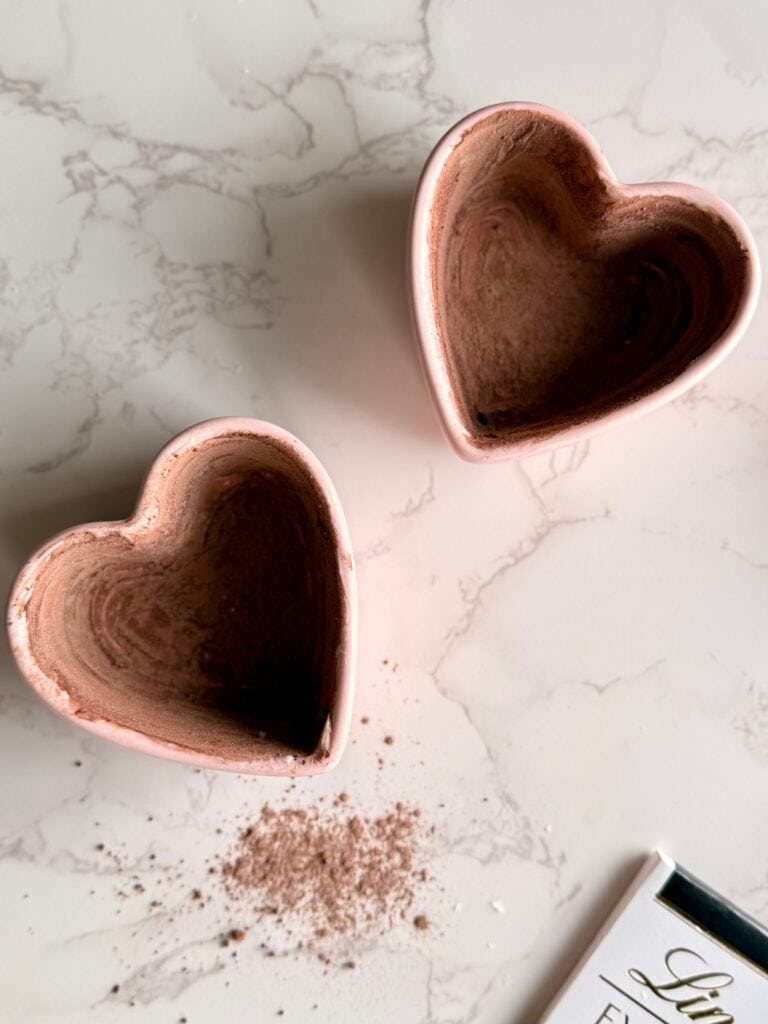
I used these adorable pink heart ramekins that are perfect for Valentine’s Day! You can use any oven-safe ramekin that is 4-6 ounces in capacity, or even a standard muffin tin (this will make 4 smaller cakes).
2. Next, in a microwave-safe bowl, melt the butter. Add the chopped chocolate and stir. Microwave in 10-second bursts, stirring in between, until the chocolate is completely melted and smooth. Set aside to cool slightly.
3. In a separate bowl, whisk together the egg, brown sugar, salt, and vanilla. You can do this by hand or with a hand mixer. Whisk until the mixture is pale, thick, and fluffy — about 1–2 minutes.
Tip: Incorporating air into the egg is important to the texture of the cake. With no leaveners in the batter, this step keeps the cake from being too dense, so whisk until it’s pale and fluffy!
4. Pour the slightly cooled chocolate mixture into the egg mixture and stir until fully incorporated. Sift in the flour and cocoa powder, then gently fold everything together until smooth and shiny.
5. Divide the batter evenly between the prepared ramekins. Press one frozen caramel round into the center of each cake, then smooth the batter over the top so the caramel is completely covered.

6. Place the ramekins on a baking sheet and bake for about 10 minutes. The edges should look set and the tops slightly cracked, while the centers remain soft and molten. Don’t rely on a toothpick here — judge doneness by how the edges look.
Depending on the size of the ramekin you choose, the baking time can vary. Check at 9 minutes and avoid overbaking to keep that gooey molten center.
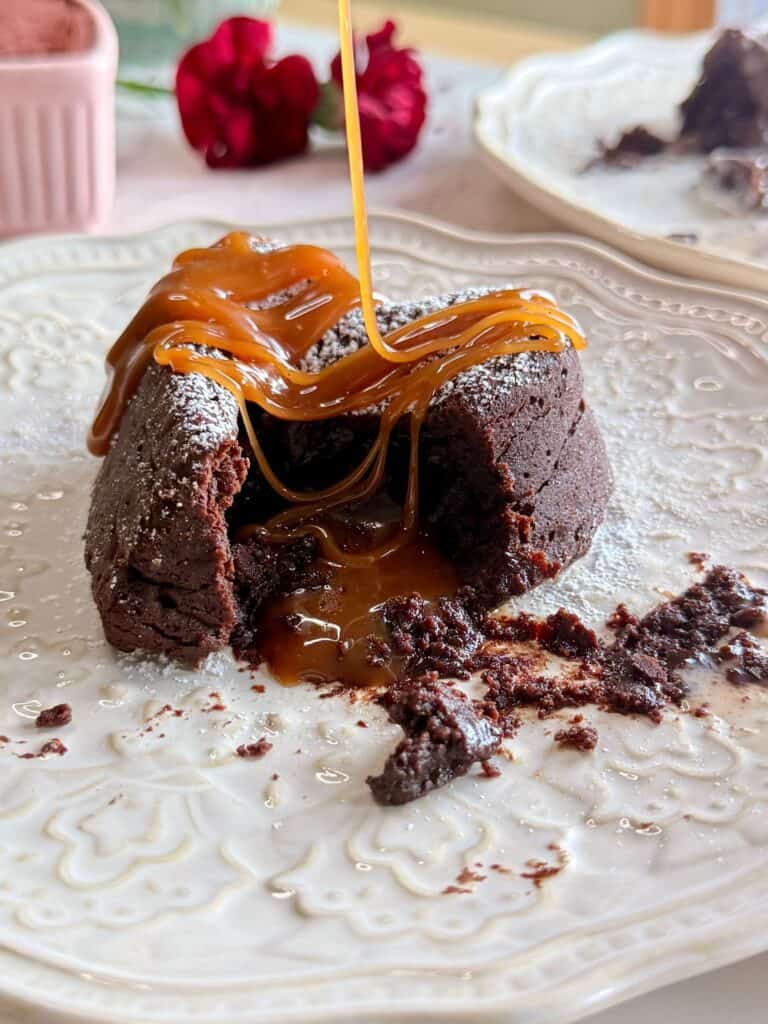
7. Let the cakes cool for 3-4 minutes. Then carefully invert each ramekin onto a plate, gently tap, and lift it off. Serve immediately while the centers are warm and gooey — add a dusting of powdered sugar or a scoop of ice cream on top; optional but highly recommended!
Tip: Set a timer for 3 minutes once you pull them from the oven. I’ve tested this, and exactly 3–4 minutes is the sweet spot that allows the cake edges to set enough to hold their shape while keeping that molten center.
Salted Caramel Molten Lava Cakes FAQ
This usually means they were baked a little too long. Lava cakes are meant to be slightly underbaked, with set edges and a soft center. Next time, check them a minute earlier and pull them when the edges look firm but the centers still look soft and slightly glossy.
This can happen if the cakes didn’t rest long enough or if the ramekins weren’t greased and coated well. Let them rest for 3–4 minutes after baking so the edges can set, and be sure to generously butter and coat the ramekins with cocoa and flour for easy release.
Yes! While homemade caramel gives the best flavor and texture, a thick, high-quality store-bought caramel will still work. For best results, spoon it into small rounds and freeze before using, just like you would with homemade caramel.
Want more indulgent desserts for Valentine’s Day?
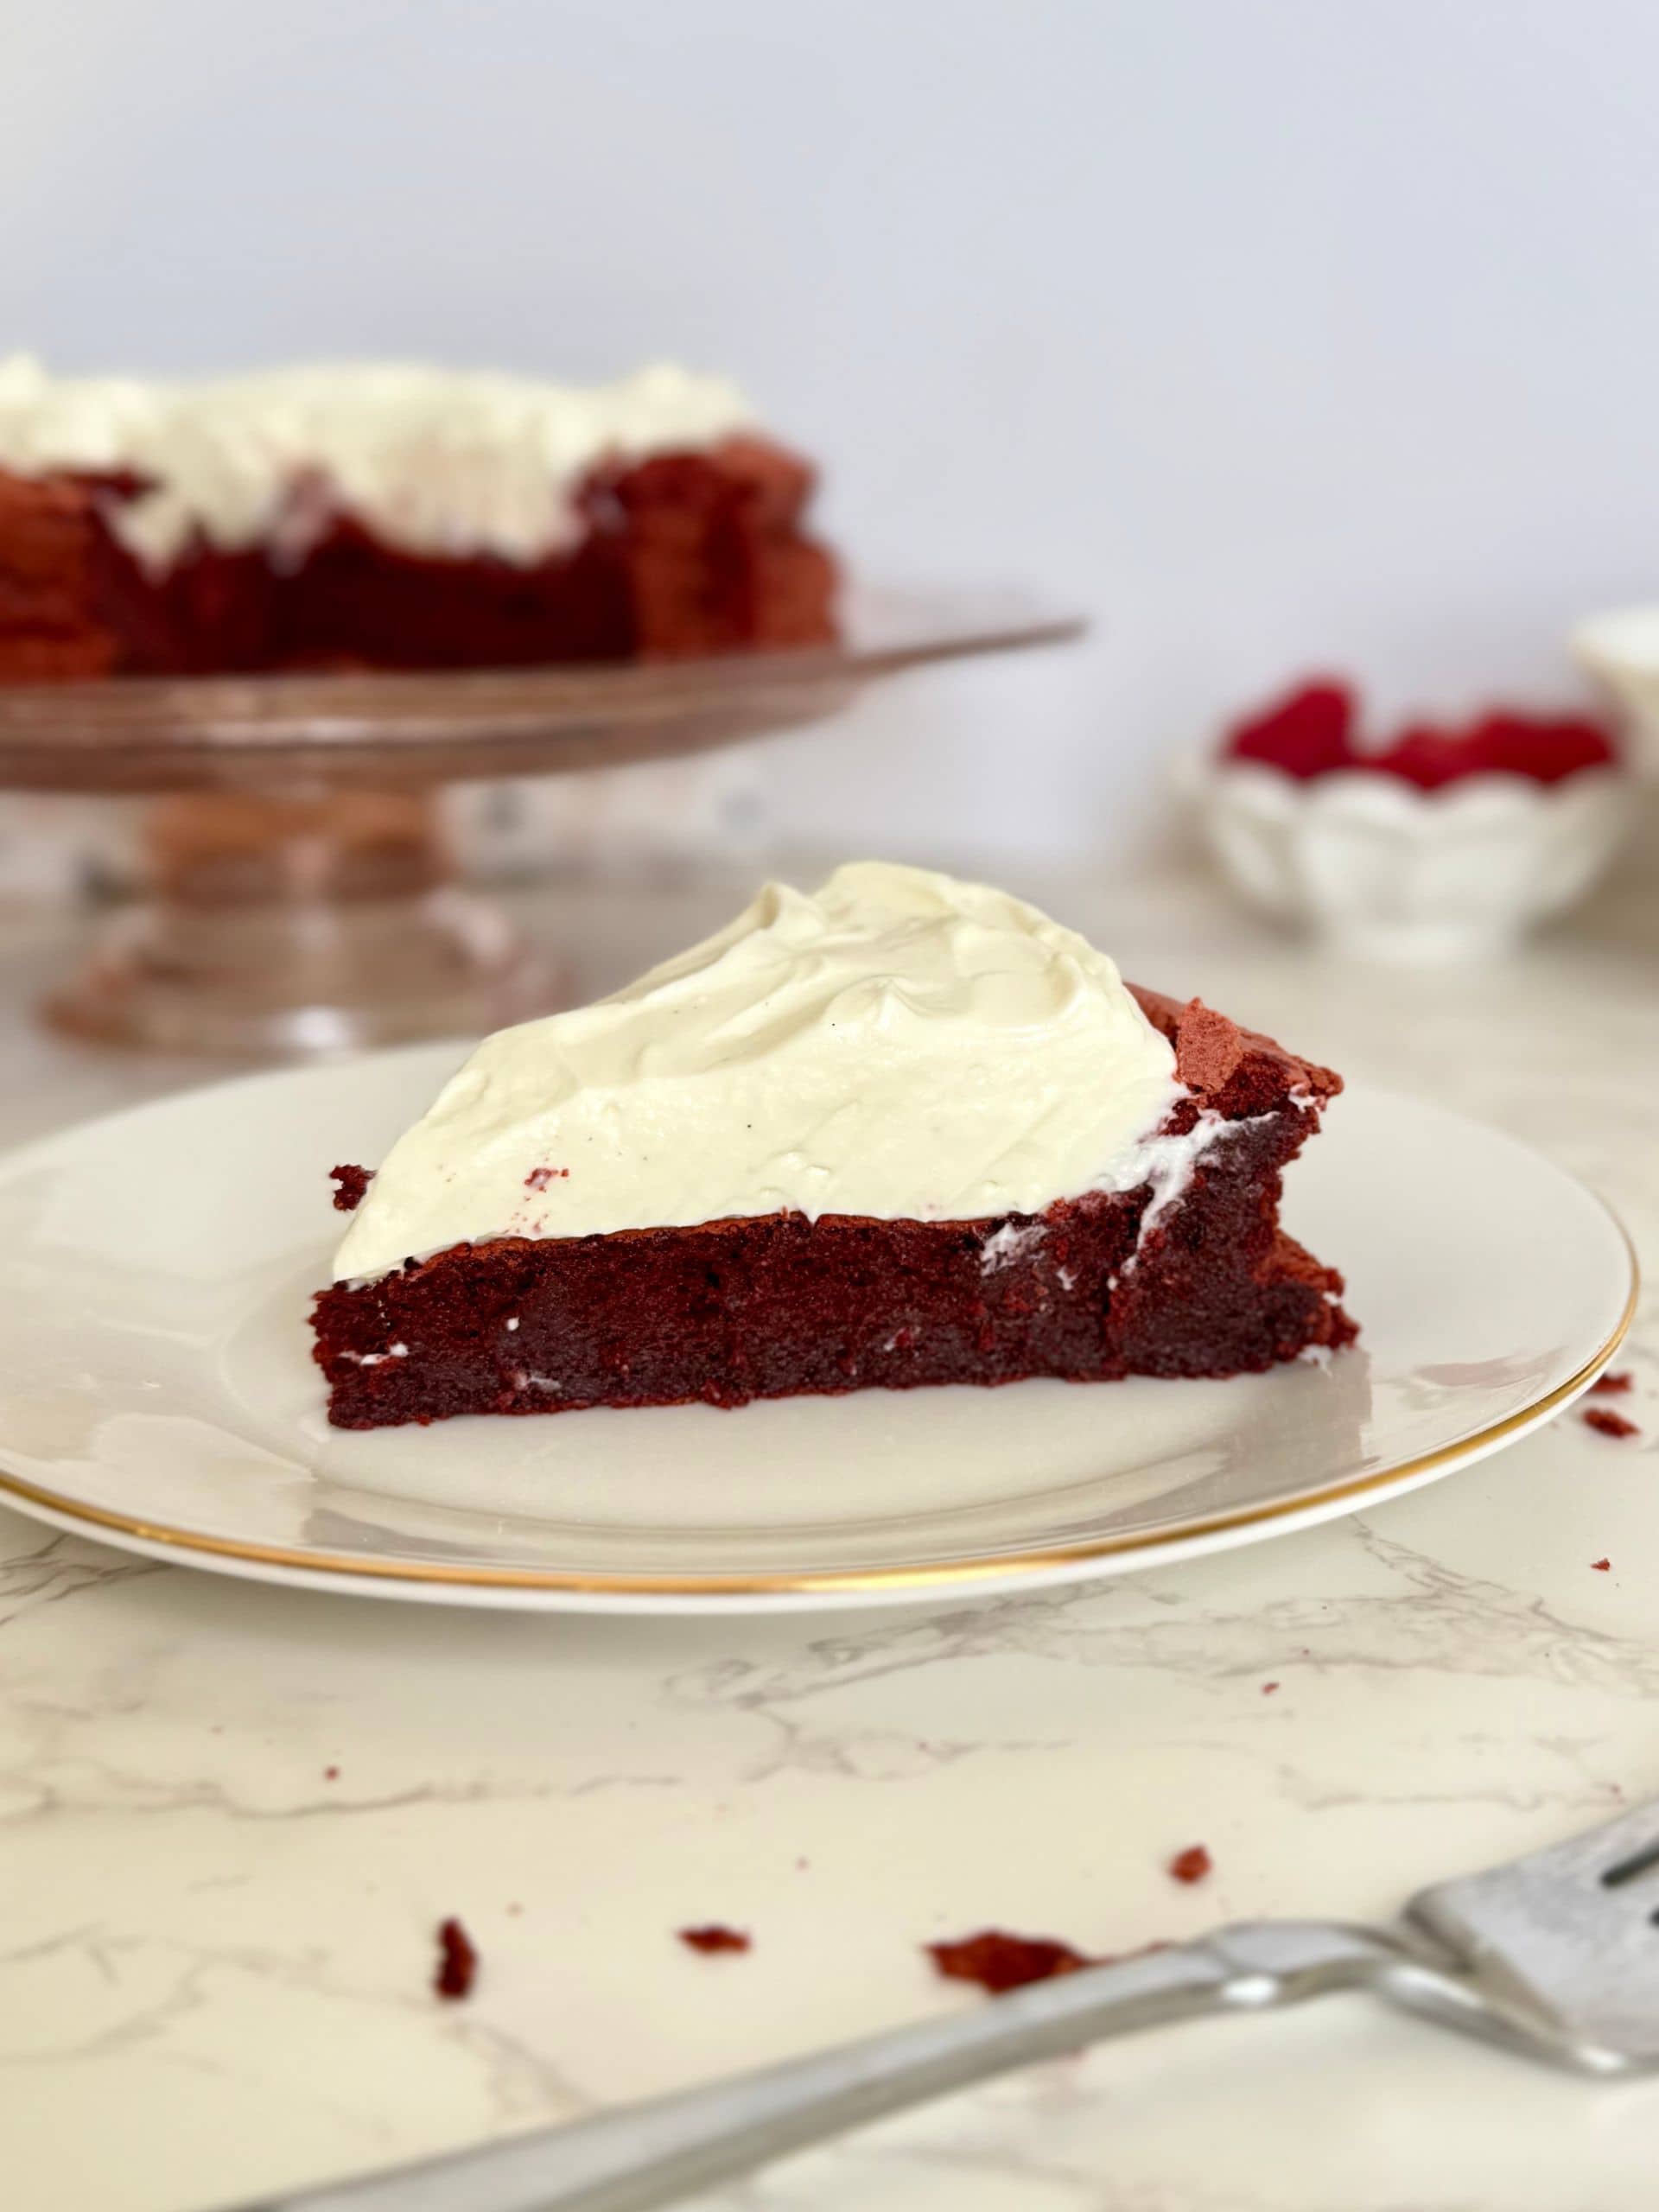
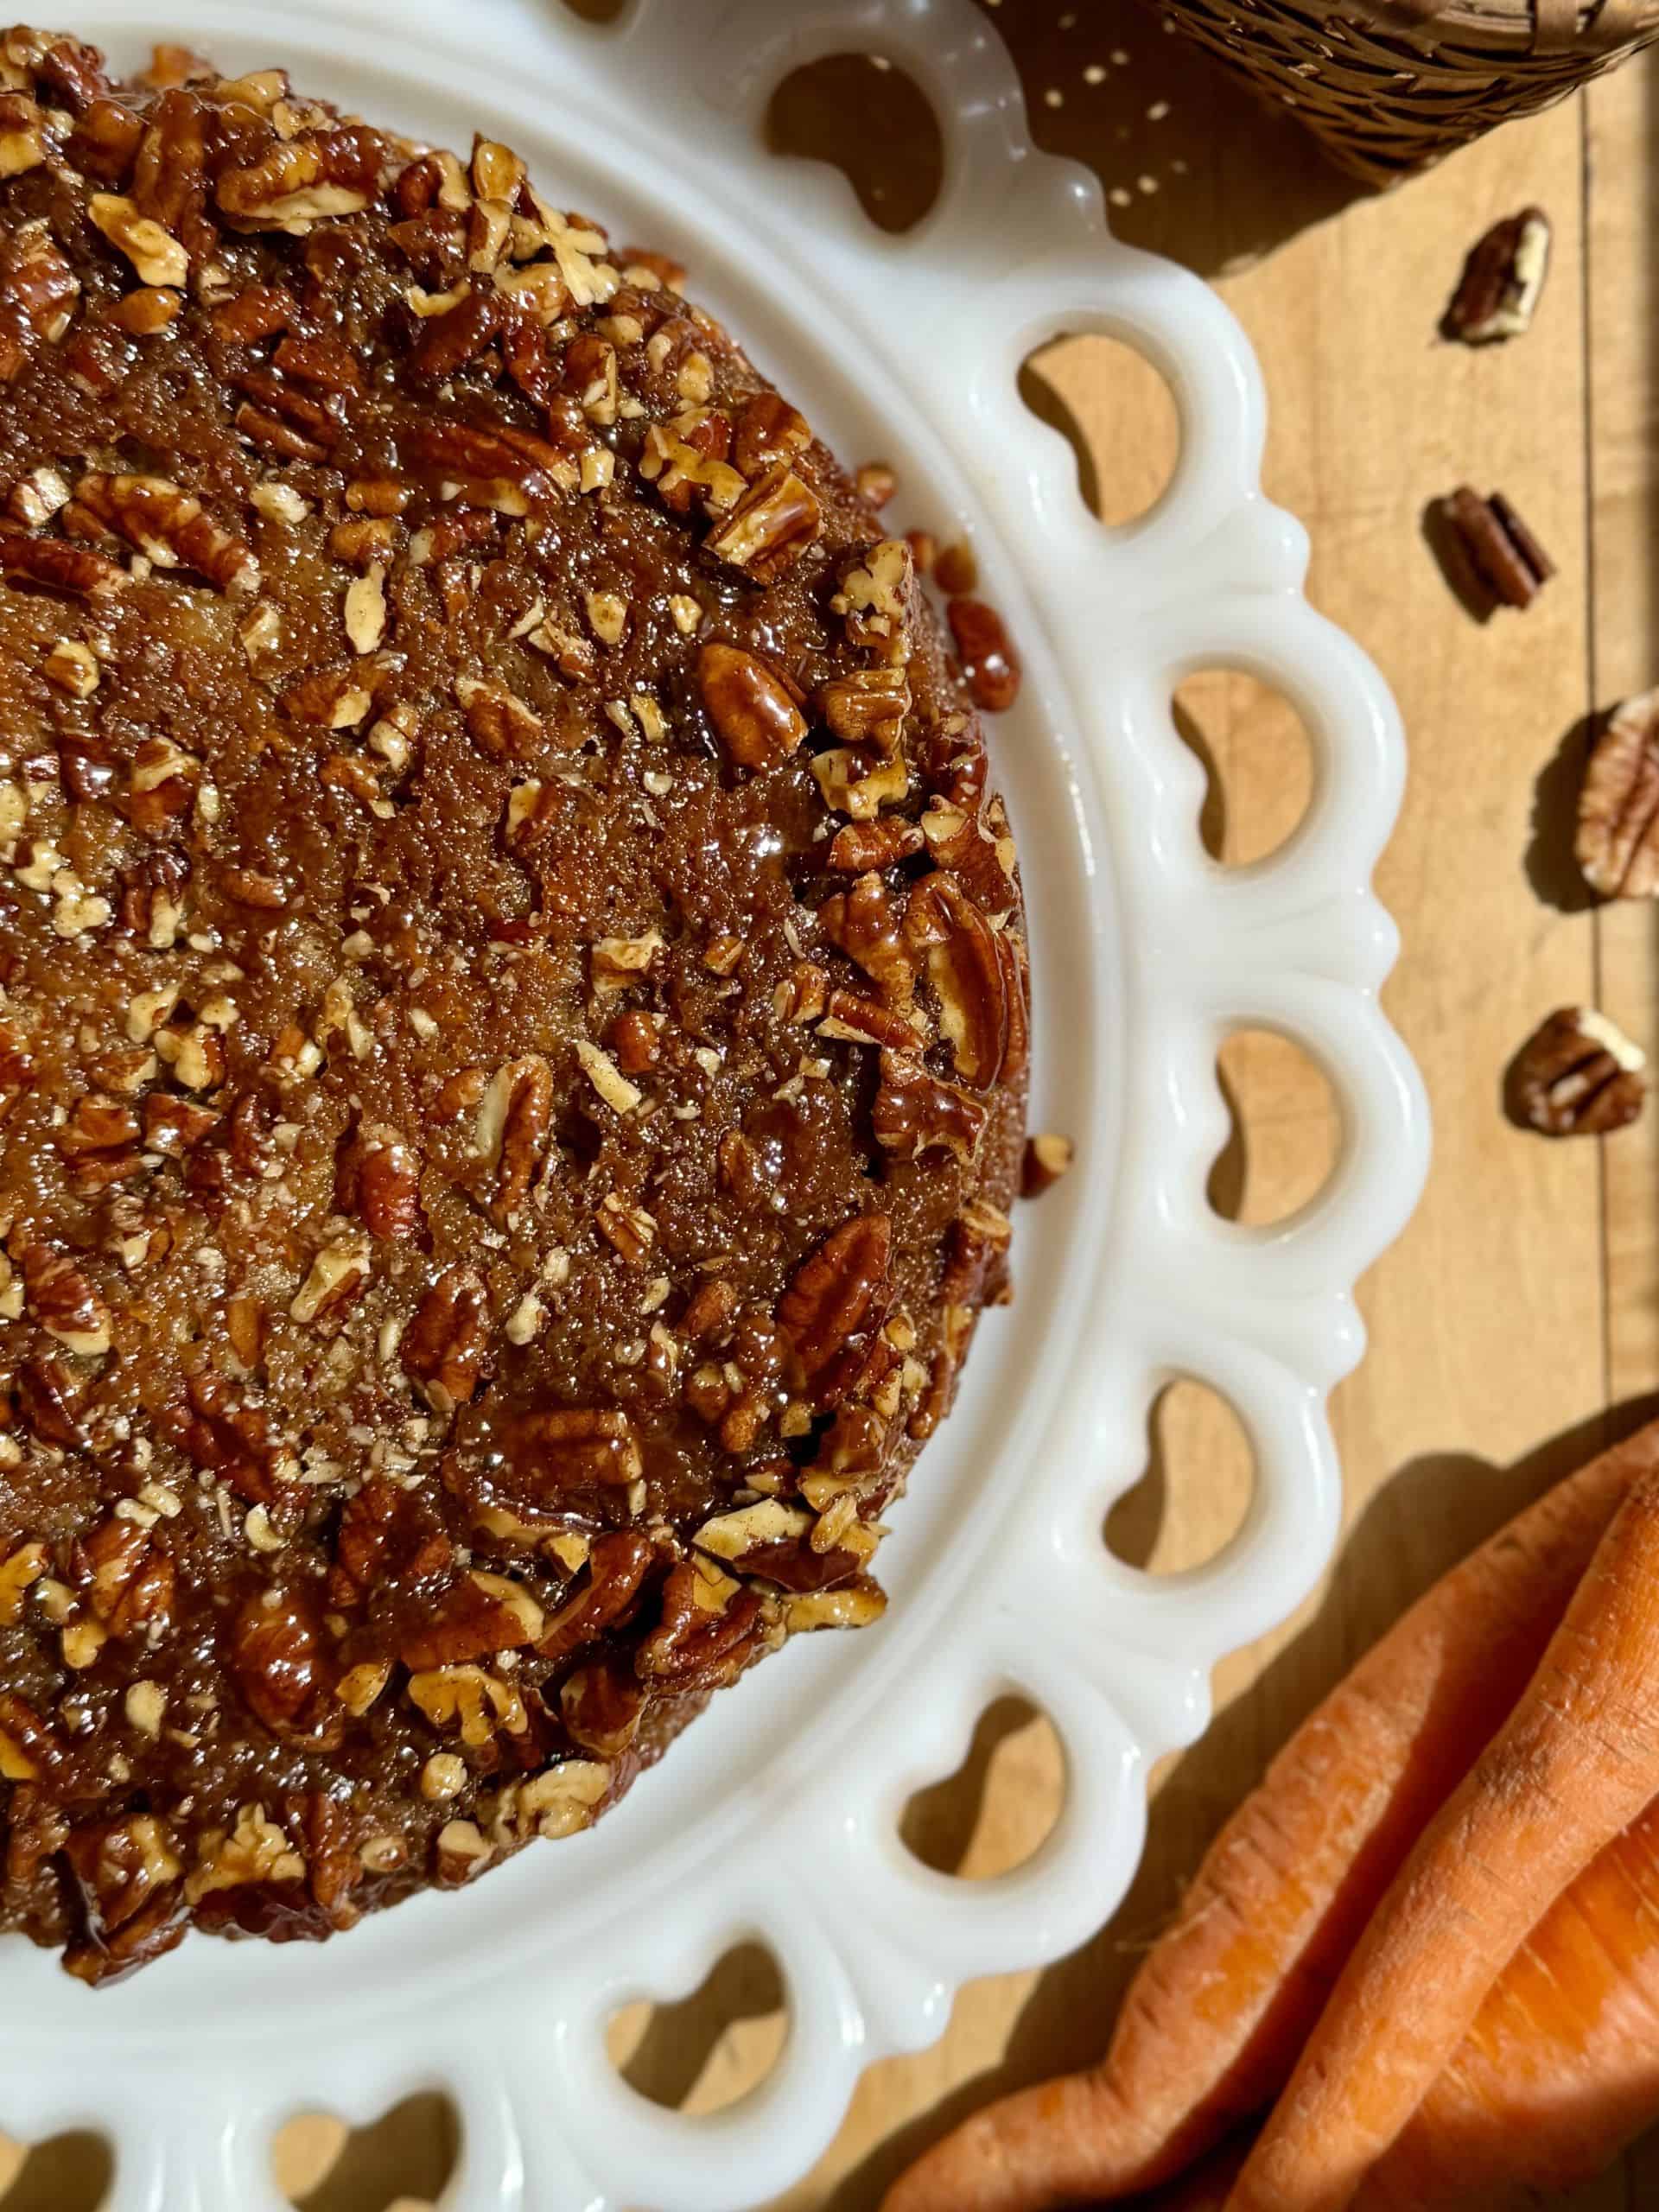
Check out my Flourless Red Velvet Torte, or my Espresso Brownies!
If Somehow You Have Leftovers…
These molten lava cakes are truly best served right away for that warm, gooey center. Once fully baked and cooled, the centers will continue to set, so they won’t be quite as molten when reheated.
Make-Ahead Tips:
- The caramel can be made up to 2 days in advance and stored in the refrigerator.
- You can portion and freeze the caramel rounds ahead of time so they’re ready to go.
- The batter should be baked right after mixing for the best texture and rise.
Warm, gooey, and filled with salted caramel — these molten lava cakes are the ultimate small-batch indulgence. If you try them, leave a comment and let me know how they turned out, or take a photo and tag me on Instagram!
Happy baking, and thanks so much for being here!
XO, Blue Mountain Baker 💙
Recipe Card
Salted Caramel Molten Lava Cakes
Equipment
- 2 (4–6 oz) ramekins
- small saucepan
- 2 Mixing bowls (microwave safe)
- Whisk
- rubber spatula
- Small sieve
- Measuring cups and spoons
- Baking sheet
- Small offset spatula or spoon
- Oven mitts or a kitchen towel
- Electric hand mixer (optional)
- Pastry brush (optional)
Ingredients
Salted Caramel
- ½ cup granulated sugar 110g
- 1 tablespoon corn syrup
- 2 tablespoons unsalted butter, room temperature 28g
- ¼ cup heavy cream 64g
- ½ teaspoon vanilla extract
- ¼ – ½ teaspoon flaky sea salt
Chocolate Molten Lava Cakes
- 2 tablespoons unsalted butter, melted 28g
- 3.5 ounces dark chocolate bar, chopped 100g, Lindt or Ghiradelli
- 1 egg
- 2 tablespoons brown sugar
- ¼ teaspoon salt
- 2 teaspoons all-purpose flour plus extra for coating ramekins
- 2 teaspoons dutch processed cocoa powder plus extra for coating ramekins
Instructions
Salted Caramel
- Cook the sugarAdd the sugar, corn syrup, and a splash of water to a saucepan and stir until it resembles wet sand. Use a pastry brush or wet fingers to wipe down the sides of the pan to remove any sugar crystals. Place over medium heat and cook undisturbed until the sugar turns a light amber color. Continue cooking until it reaches a deep golden brown, then remove from the heat.
- Warm the creamWhile the sugar cooks, warm the heavy cream in the microwave in 10-second intervals until just warm, not boiling.
- Finish the caramelWhisk in the room-temperature butter into the caramel. Slowly stream in the warm cream while whisking until smooth. The caramel will steam and bubble up rapidly. Transfer to a heatproof bowl and let cool completely to room temperature, about 1 hour. Once cooled, stir in vanilla extract and flaky salt to taste.
- Freeze the caramel roundsOnce cooled, the caramel will have thickened. Spoon 2 teaspoons of caramel each into two small rounds on a parchment-lined plate or tray. Freeze for at least 30 minutes while preparing the lava cake batter. Store the remaining caramel in the fridge, or use it to drizzle over finished lava cakes.
Chocolate Molten Lava Cakes
- Preheat and prep ramekinsPreheat oven to 450°F. Grease two 4–6 oz ramekins with butter. In a small bowl, combine 1 teaspoon flour and 1 teaspoon cocoa powder. Add to the ramekins, tapping to coat bottoms and sides fully. Tap out any excess.
- Melt the chocolate and butterIn a microwave-safe bowl, melt the butter. Add the chopped chocolate and microwave in 10-second increments, stirring until fully melted and smooth. Set aside to cool slightly.
- Whisk the egg mixtureIn a separate bowl, whisk together the egg, brown sugar, salt, and vanilla. Whisk by hand or with a hand mixer until pale, thick, and fluffy, about 1–2 minutes.
- CombineStir the cooled chocolate mixture into the egg mixture until fully combined. Sift in flour and cocoa powder, then fold until smooth.
- Fill, add the caramel, and bakeDivide the batter between the two prepared ramekins. Press one frozen caramel round into the center of each and smooth the batter over the top to fully cover.Place the ramekins on a baking sheet and bake for about 10 minutes, until edges are set and tops are slightly cracked. The centers will remain molten, so judge doneness by appearance rather than a toothpick test.
- Cool briefly and unmoldLet the cakes cool for 4 minutes, then serve them warm immediately. To unmold, carefully invert onto a plate, gently tap, and lift off the ramekin.